But let me stress here again this is not the normal production way to build these road cases. That process consists of panels and lid maker extrusions and hardware. Not pre assembled boxes.
I start with measuring everything out and putting it on paper for reference.
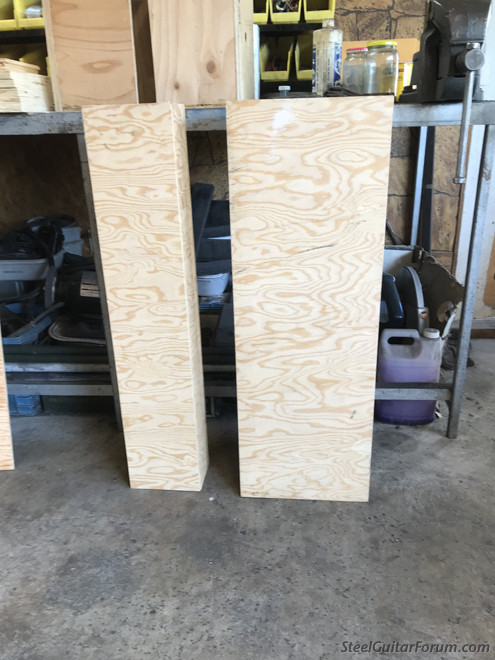
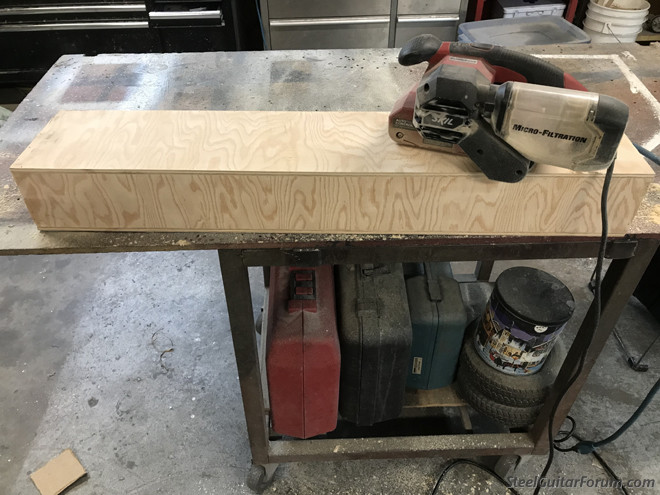
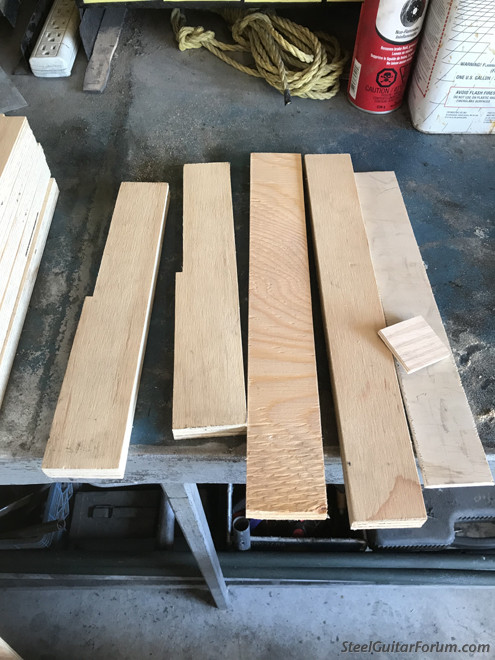
I like using 3/8" plywood as it seams very strong but some what light as well. Compared to 1/2" being on the heavy side and 1/4" not being strong enough. They all will work but the 3/8 is a bit of a balance.

You don't want to get caught waiting for some parts or supplies so before you start make sure you have collected all of the stock and materials you will need to do the job completely.
You will need your wood
ABS or your choice of covering
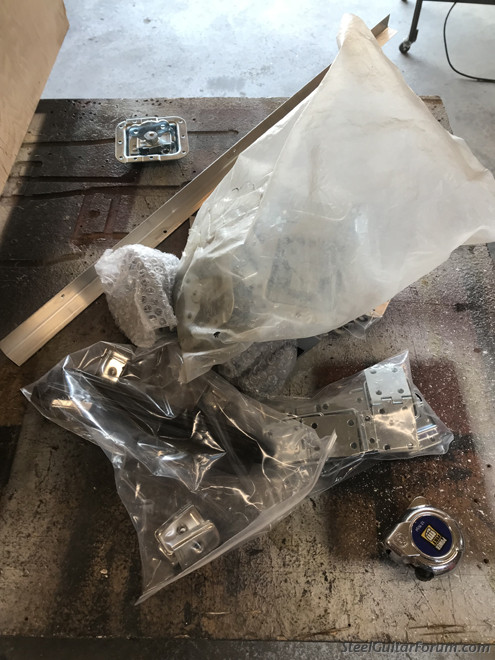
All your extrusion
All your chosen hardware
And of coarse rivets
Foam for the inside of the case
Inside covering Velvet etc.
Glue, Glue reducer, Glue gun
Specialty tools, rivet gun, sharp drill bits, drill, cut off saw, die grinder etc.
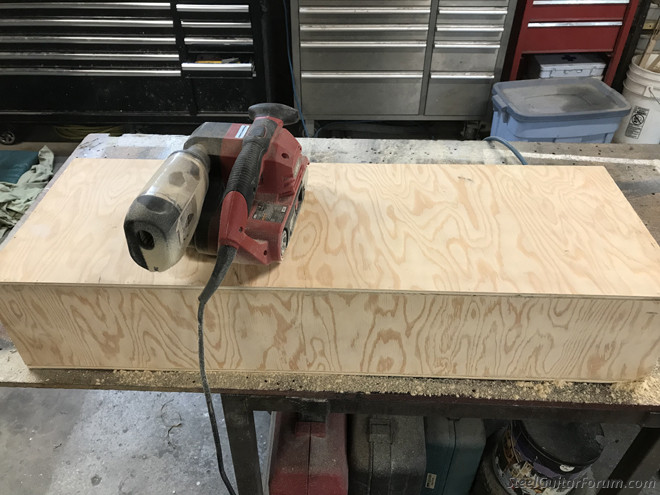
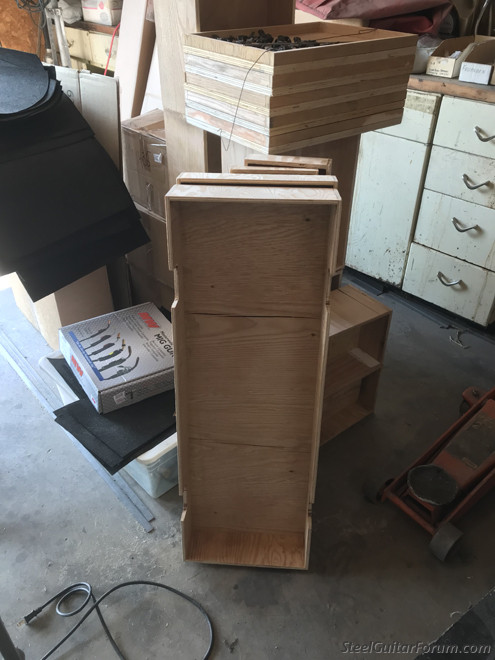
You should now be ready to start the project.. All the wood can now be cut to specs. I now assemble it into there perspective boxes. Once it's all glued and brad nailed together I let it dry. To keep everything tight and square...ish,
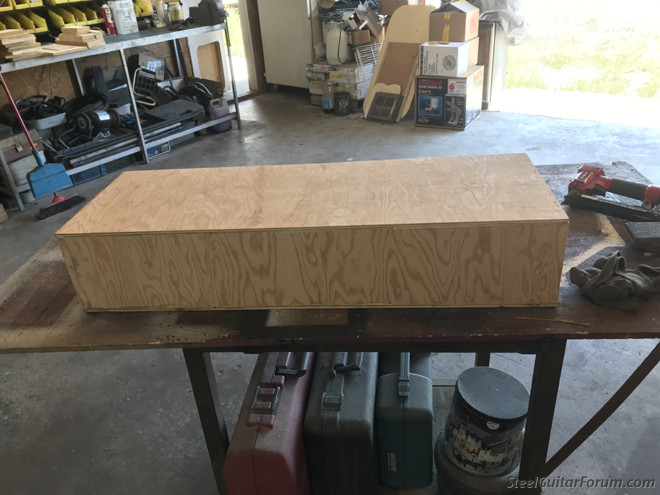
I will belt sand all six sides. This roughs everything up for gluing and removes any unwanted pieces that are sticking up. So the surface is flush.
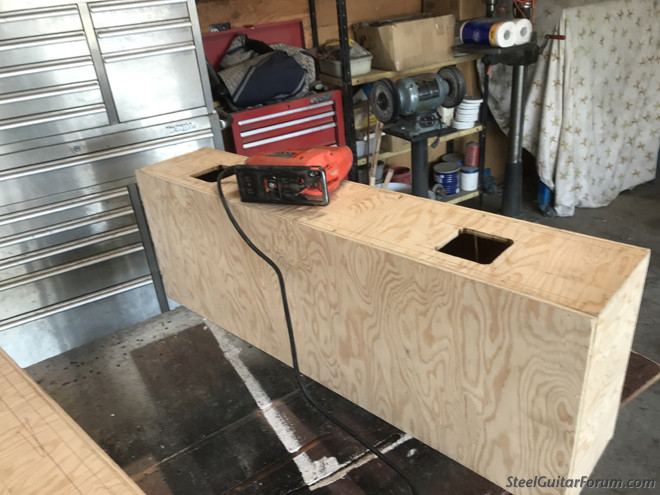
I will then cut the lid off that particular box. That way there is no mistake, I have a matching lid and bottom.


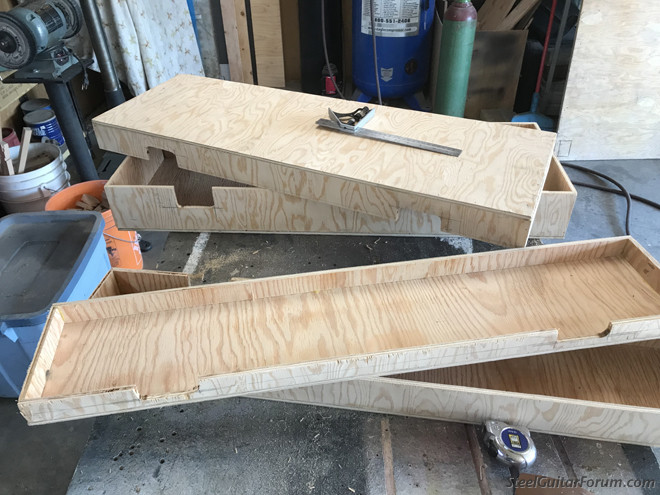
From the blueprints you will now have to cut the guitar supports for each body and neck ends. Now these are basically blanks until you are ready to fit them in the case because you will have to modify one or both to work with the guitar you are building the case for and or accessories like internal wheels etc. I support all my guitars in 4 places in a flight/road case so there is less chance of flexing in travel.
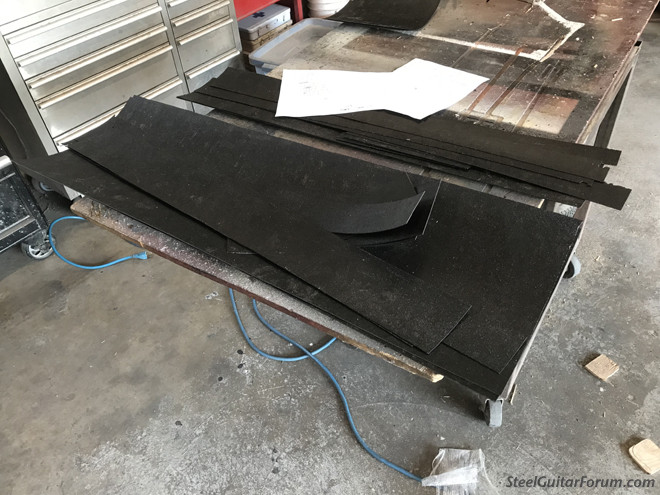
Next I will cut the ABS or what ever material you choose to use to cover the case on the outside.
Too be continued...